How To Minimize Pores
A practical step-by-step guide to how to minimize pores, including preparation, instructions, common issues, tips, and next steps.

How To Minimize Pores
While it’s a common goal, you can’t technically shrink or close your pores. Their size is mostly determined by genetics. However, you can absolutely make them appear smaller, tighter, and less noticeable. This guide walks you through a complete skincare routine designed to deep clean pores, refine skin texture, and support skin health, leading to a smoother, more flawless-looking complexion. It’s perfect for anyone struggling with enlarged pores due to oiliness, congestion, or loss of skin firmness.
Fast Answer
- Key Action: Cleanse thoroughly and exfoliate regularly.
- Why: This combination removes oil, dead skin cells, and debris that can stretch pores and make them look larger.
- Best For: Oily, combination, and congestion-prone skin types.
Before You Start
Before diving into the routine, it’s important to understand what we're working with and gather the right tools. Pores are simply the openings of hair follicles, and they release sebum (your skin’s natural oil) to keep it moisturised. They can appear larger when they become clogged with dirt, oil, and dead skin cells, or when collagen around them weakens due to sun damage or ageing.
What You Need
- A gentle, water-soluble facial cleanser
- A chemical exfoliant containing either a BHA (like salicylic acid) or an AHA (like glycolic or lactic acid)
- A clay-based face mask (kaolin or bentonite are excellent)
- A lightweight, non-comedogenic moisturiser (meaning it won’t clog pores)
- A broad-spectrum sunscreen with at least SPF 30
- Clean face cloths or towels
Safety, Timing, or Context Checks
Consistency is the most critical factor in seeing results. Aim to follow this routine for at least four to six weeks to notice a visible difference in your skin's texture. When introducing any new active ingredient like an acid or retinoid, always perform a patch test on a small area of skin (like behind your ear) 24 hours beforehand to check for irritation.
Step-by-Step Instructions
Step 1: Cleanse Thoroughly Every Morning and Night
The foundation of any good skincare routine is proper cleansing. Removing makeup, sunscreen, excess oil, and daily grime prevents this debris from settling into your pores and stretching them out. In the evening, consider a 'double cleanse' for a truly deep clean.
Start with an oil-based cleanser to dissolve makeup and sunscreen. Massage it onto dry skin, then emulsify with a little water and rinse. Follow up with a water-based gel or cream cleanser to wash away any remaining residue. In the morning, a single cleanse with your water-based cleanser is sufficient to remove overnight oil buildup.
Step 2: Exfoliate with a Targeted Chemical Exfoliant
Chemical exfoliants are acids that work by dissolving the 'glue' that holds dead skin cells together, allowing them to be shed more easily. This process, known as increasing cell turnover, helps keep pores clear and improves overall skin texture. The two main types are:
- BHAs (Beta Hydroxy Acids): Salicylic acid is the most common BHA. It's oil-soluble, meaning it can penetrate deep inside the pore lining to clear out clogs. This makes it the top choice for oily and acne-prone skin.
- AHAs (Alpha Hydroxy Acids): Glycolic and lactic acids are popular AHAs. They are water-soluble and work primarily on the skin's surface to smooth texture and improve brightness.
Start by using your chosen exfoliant 2-3 times per week after cleansing at night. Apply a thin layer to dry skin and wait a few moments for it to absorb before proceeding with the rest of your routine. You can gradually increase the frequency if your skin tolerates it well.
Step 3: Use a Clay Mask Once or Twice a Week
A clay mask is a fantastic tool for an immediate deep clean. Clays like bentonite and kaolin have absorbent properties, allowing them to draw excess oil and impurities out from your pores. This can make them look temporarily smaller and more refined right after use.
Apply a thin, even layer to clean, dry skin, focusing on areas where pores are most prominent, like the T-zone (forehead, nose, and chin). Leave it on for 10-15 minutes, or until it's just about dry but not completely cracked and tight. Rinse thoroughly with lukewarm water.
Step 4: Keep Your Skin Hydrated and Moisturized
It might seem counterintuitive to add moisture to skin that you feel is already oily, but it's a crucial step. When your skin becomes dehydrated, its oil glands can go into overdrive to compensate, producing even more sebum that can clog pores. A good moisturiser helps to balance your skin's oil and water levels.
Choose a lightweight, oil-free moisturiser with a gel or lotion texture. Look for the term "non-comedogenic" on the label, which certifies that the product has been formulated in a way that is not likely to cause pore blockages. Apply it morning and night after cleansing and any treatment steps.
Step 5: Apply Broad-Spectrum Sunscreen Every Single Day
This is arguably the most important long-term step for maintaining healthy pore structure. Sun exposure and UV damage break down the collagen and elastin in your skin. These proteins act like scaffolding, providing support to the skin and the walls of your pores. When this support system weakens, pores can sag and stretch, appearing much larger.
Apply a generous amount of a broad-spectrum sunscreen with an SPF of 30 or higher as the very last step of your morning skincare routine. This is a non-negotiable step, regardless of the weather or how much time you plan to spend outdoors. Protecting your collagen is essential for preventing the premature enlargement of pores.
Step 6: Consider Adding a Retinoid to Your Routine
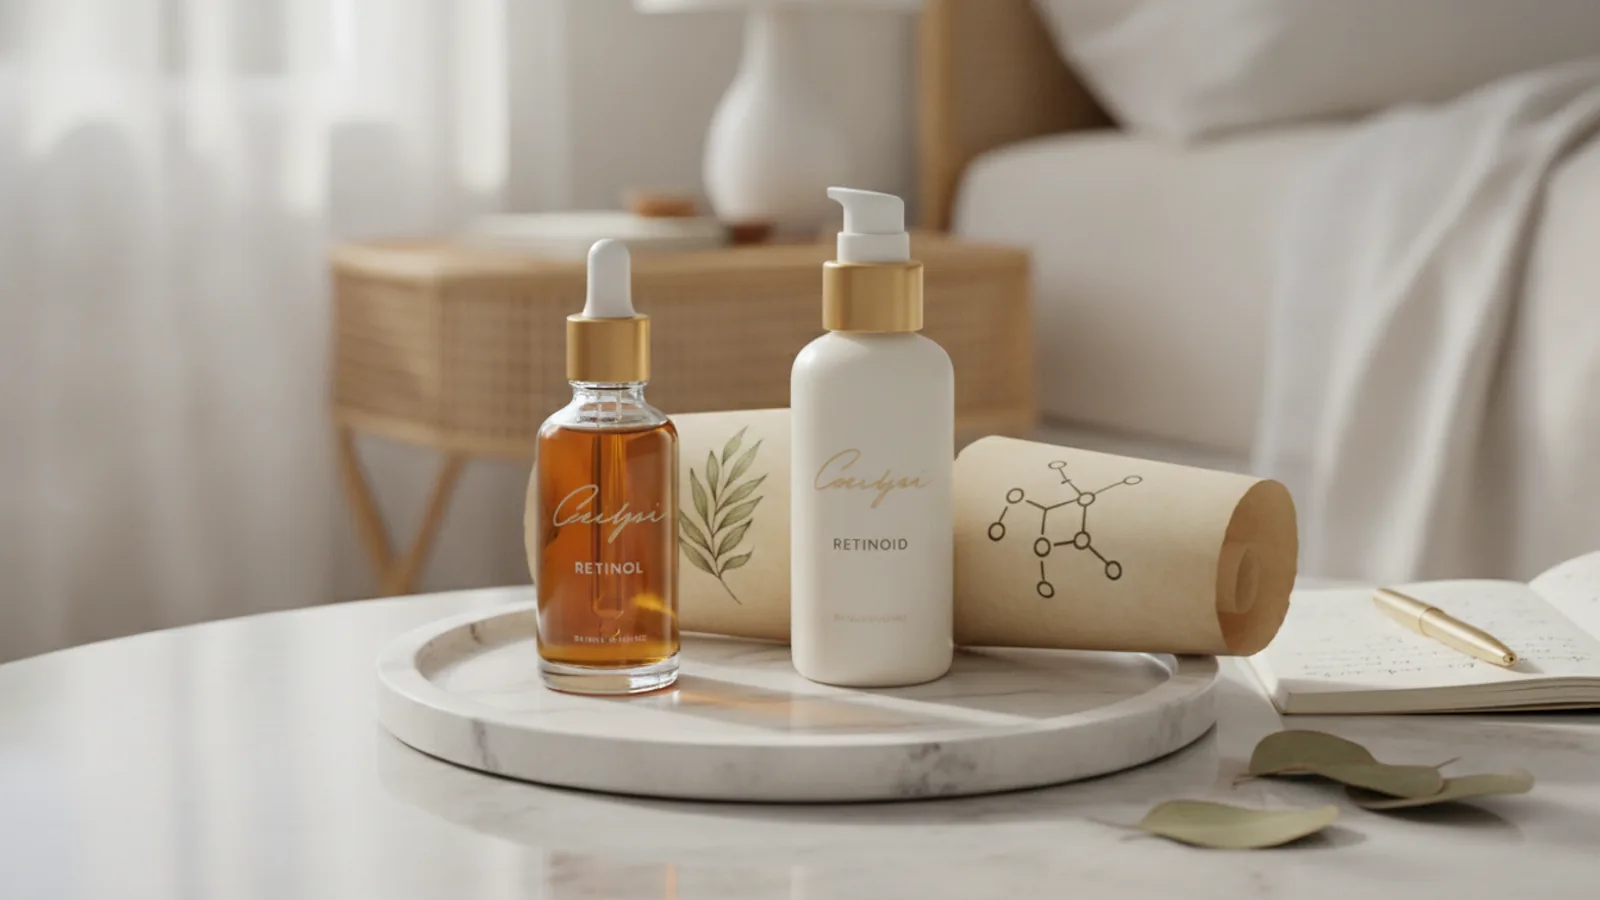
For those looking for more advanced results, retinoids are a gold-standard ingredient. This family of Vitamin A derivatives (including retinol and retinal) works by accelerating skin cell turnover even more effectively than AHAs or BHAs. This helps to keep pores consistently clear of blockages.
Furthermore, retinoids stimulate collagen production deep within the skin. Over time, this helps to firm the skin and strengthen the supportive structure around the pores, which can lead to a visible improvement in their appearance. Start with a low-concentration product once or twice a week at night to allow your skin to acclimatise, and always pair it with diligent sunscreen use, as retinoids can increase sun sensitivity.
Common Problems When You Minimize Pores
Even with the best intentions, you might run into a few hurdles. Here’s how to troubleshoot some common issues.
- Problem: My skin feels tight, flaky, or looks red.
This is a classic sign of over-exfoliation. You're stripping your skin's protective barrier. The fix is to immediately stop using all active ingredients (acids, retinoids) for a week. Focus on gentle cleansing, applying a simple, hydrating moisturiser, and using sunscreen. Once your skin feels calm, you can slowly reintroduce your exfoliant, starting with just once or twice a week. - Problem: I'm breaking out more than before.
This could be "skin purging." When you introduce ingredients that speed up cell turnover (like acids or retinoids), they can bring underlying clogs to the surface all at once. Purging typically occurs in areas where you usually get breakouts and should clear up within 4-6 weeks. If breakouts persist beyond that or appear in new areas, the product might be irritating your skin or clogging your pores, and you should stop using it. - Problem: I've been consistent for two weeks and see no difference.
Patience is key. It takes time for skin cells to turn over and for collagen to rebuild. Visible changes to pore appearance often take at least 6 to 8 weeks of consistent use. Don't get discouraged; stick with your routine, and you will see gradual improvements in your skin's texture and clarity.
Advanced Tips for Minimizing Pores
Once you’ve mastered the basics, you can explore other avenues for an even smoother complexion.
- Incorporate Niacinamide: This form of Vitamin B3 is a multitasking superstar. It helps to regulate sebum production, strengthens the skin barrier, and has been shown to improve skin elasticity, which can have a tightening effect on the appearance of pore openings. Look for a serum with 5-10% niacinamide and apply it after cleansing.
- Use a Primer for an Instant Fix: For a temporary, cosmetic solution, a silicone-based makeup primer can work wonders. These primers create a smooth film over the skin, effectively filling in and blurring the look of enlarged pores, providing a perfect canvas for foundation.
- Explore Professional Treatments: If you're looking for more dramatic and lasting results, you could consult a dermatologist or qualified dermal therapist about professional treatments. Options like clinical-strength chemical peels, microneedling, or certain laser therapies can significantly improve skin texture and pore appearance by stimulating collagen production on a deeper level.
Quick Reference
| Situation | Use this | Why |
|---|---|---|
| Oily Skin & Blackheads | Salicylic Acid (BHA) Exfoliant | It's oil-soluble, allowing it to penetrate and decongest the pore lining from within. |
| Dullness & Uneven Texture | Glycolic or Lactic Acid (AHA) | It works on the skin's surface to dissolve dead cells, revealing brighter, smoother skin. |
| First Signs of Ageing/Sagging Pores | Retinoid & Daily SPF 30+ | This duo rebuilds and protects collagen, which is the key support structure for your pores. |
| A Quick Fix for a Big Event | A Blurring, Silicone-Based Primer | It provides an instant, temporary smoothing effect by filling in pores for a flawless makeup base. |
How To Minimize Pores FAQ
Here are answers to some of the most frequently asked questions about pores.
Can you permanently shrink your pores?
No, you cannot permanently change the genetic size of your pores. Think of them like the pores in a sponge—you can't make the holes smaller, but you can keep them clean so they aren't stretched out or noticeable. A consistent skincare routine makes them appear as small as possible.
Are pore strips a good or bad idea?
While incredibly satisfying, pore strips are generally not recommended by dermatologists. They use a strong adhesive to rip out the top layer of clogs (keratin plugs), but this action can be harsh, irritating the skin and even breaking capillaries. The effect is temporary, as the pore will fill back up with sebum quickly.
What is the single most important product for minimizing pores?
It's a tie between two: a BHA exfoliant (like salicylic acid) for cleaning them out, and daily sunscreen for preventing long-term collagen damage that leads to sagging pores. One is for treatment, and the other is for prevention—both are vital.
Final Checklist for Minimizing Pores
Keep this checklist handy to ensure you're staying on track for smoother, clearer-looking skin. A consistent routine is your most powerful tool.
- Cleanse your face thoroughly every morning and every evening.
- Use a chemical exfoliant (BHA or AHA) two to three times per week.
- Apply a clay mask once a week for a deep clean.
- Use a lightweight, non-comedogenic moisturiser to keep skin balanced.
- Wear broad-spectrum SPF 30+ sunscreen every single day, without fail.
- Be patient and consistent for at least six weeks to see the best results.